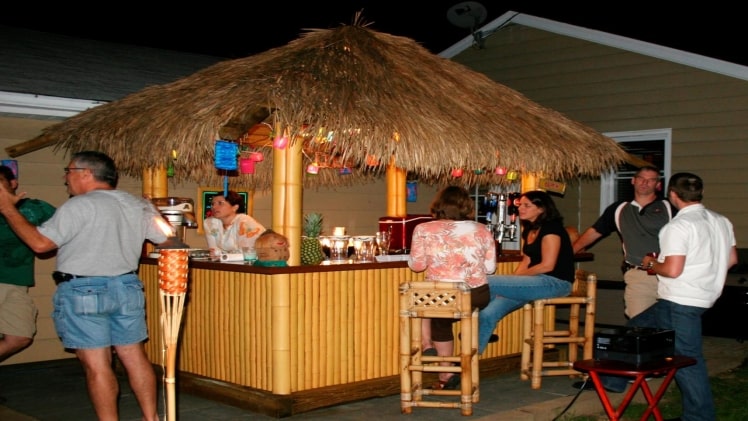
How to Create an Inexpensive Tiki Bar?

Are you looking to create an inexpensive Tiki Bar? If so, then you should be aware that it is just like everything else in life; there is a process that you have to follow. Keep the following steps in mind:
Gather the Needed Materials
Naturally, the first step to building your own exterior bar is to gather the needed materials. For this project, you will need things such as a staple gun, scissors, measuring tape, an oscillating sander, a utility knife, a circular saw, a cordless drill, the speed square, a pencil and a putty knife.
You will also need tools such as a reed screen, a Mexican palm-thatch runner, one sheet of 1/2-inch plywood, enamel spray paint and exterior filler, some clear polyurethane coating and spray, three different 4-foot by 8-food MDF sheets, ten different 3-inch corner braces, a box of 1/2-inch screws, a set of six chair/table globes, and seven one-by-four boards. In fact, tiki bar decorations are easily available at places like Party City.
Build the Base of the Bar
Your first step is to build the bar’s base. You would start by using the circular saw to cut two sheets of the 3/4-inch MDF and combine them into a large piece for the front of the bar. Ideally, it should measure 41 inches by 60 inches. Moreover, they should be two 41 by 30-inch pieces that you will use for the sides.
After joining the sections in a U shape with the larger section forming the front of the bar and the two smaller sections being used for the sides, you will see that the three 3-inch corner braces are a perfect sit on each side. Now it is time to add the six chair/table glides, purchasing only the type that has been nailed or screwed in.
Mark the Countertop of the Bar
This is a great opportunity for you to save money because instead of using expensive materials, most people will simply go with a simple, do-it-yourself countertop from MDF along with paint and exterior filler. After turning over the bar so that it is resting on the glides, utilize the 3/4-inch sheet on the top. One side of the sheet is going to have to be flush with the back of the tiki bar. Underneath, there should be a six-inch overhang in the front of the bar top. However, do not use this overhang for the sides.
Install and Cut the Bar Countertop
Cut the board to the specified size using your circular saw. After placing the countertop on the bar and allowing for the overhang, go underneath it and square up the two sides with the Speed Square, adding four of those 3-inch corner braces.
Complete the Bar Countertop
Apply the exterior filler to the edges of the countertop and let the filler cure completely. If you sand it down with #220 grit sandpaper and paint and put it through an oscillating sander. You will need to repeat this fill and sand process at least twice to give your tiki bar a perfectly smooth countertop.
Congratulations, you are now ready to paint. First, sand the top with your 220 grit sandpaper, doing it at least twice. Follow the cycle with polyurethane coating at least twice.
Construct the Roof
Now it’s time to build the roof. You would start by running 1-by-4 boards up the sides of the bar on a vertical basis and securing each of them to the base with four screws. This will count as a supporting ring to hold them together, with two boards cut at 60 inches and a few more cut at 30 inches. Top this off with a 60-inch by 30-inch sheet of half-inch plywood and attach it by using the screws.
Put a Reed Screen on the Front
Acquire some reed or bamboo screens that have been woven into 8-by-16-foot long mats facing the bar. The posts should be wrapped with a screen and be 41-inches long. Cut them with scissors, wrap the posts, and then staple them into place.
Add the Bamboo Screen to the Roof Posts
You can utilize the same bamboo-reed screen to cover up the 1-by-4-inch roof posts as well. You would wrap the posts with the screen and staple them into place. Congratulations, you are finished.


